

This is a handy tutorial about creating the favicon. A favicon is an icon which appears on the tab, in the address bar and in the favorite menu of browsers. To make a favicon:
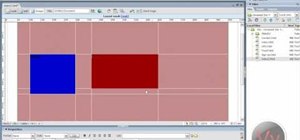
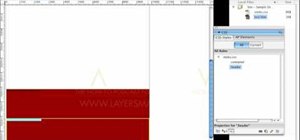
1 open a new document of 300x300 pixels in PhotoShop. Use the zoom tool to have a enlarge view of this document. 2. By choosing the colors of your choice, add a gradient on this document.
3. You can put a symbol or shape on this document by choosing the shape tool and selecting any available symbol
4. Save this document in .PNG format
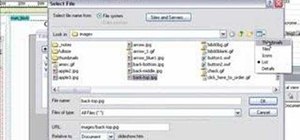
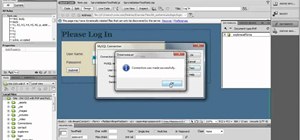
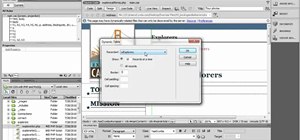
5. convert this PNG file in to ICO or icon file. Unfortunately you can convert a jpeg or png in to ico file in PhotoShop. For this conversion you can use ConvertIco.com. This website provides a very simple and easy to use interface. Select brows to give the path of your png file and a script will run and return you a ico file. Download it and save it on your local disk.
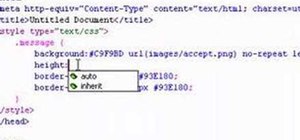
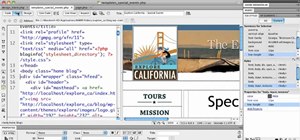
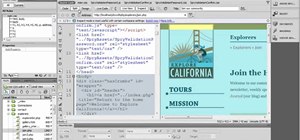
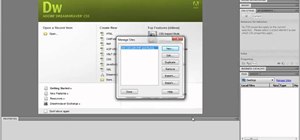
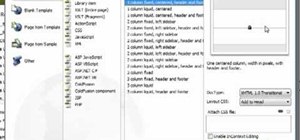
6. Open dreamweaver and select Code view.
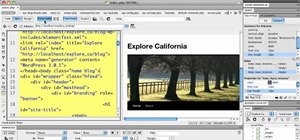
7. In the head tag of your page, add following lines <link rel= “shortcut icon” href=”[path of your favicon file.ico]” />
8. Done, now you view the page in a browsers to verify whether favicon is displayed or not.
Just updated your iPhone? You'll find new emoji, enhanced security, podcast transcripts, Apple Cash virtual numbers, and other useful features. There are even new additions hidden within Safari. Find out what's new and changed on your iPhone with the iOS 17.4 update.


Be the First to Comment
Share Your Thoughts