


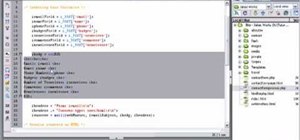
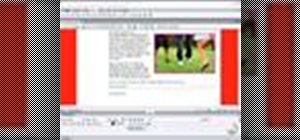
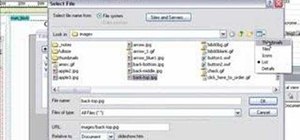
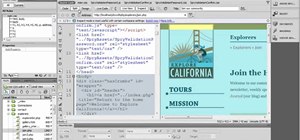
This video shows how to create a menu with rollover images in Dreamweaver. Open a new document and create a table with one row and one column. To add your rollover images, go to the "Image" tab and select “Rollover Image”. In the “Insert Rollover Image” box, give the image a name, then click “Browse” under “Original Image” to find your images. You can select your rollover images in the same window. Then enter your alternate text and click OK.
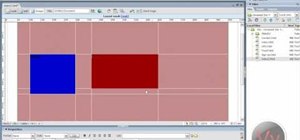
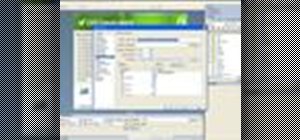
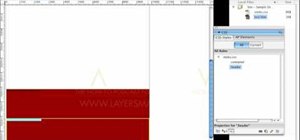
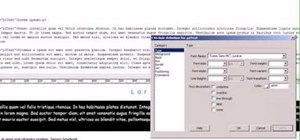
To add a border around each button, click on the image, then right click and go to "CSS Styles" and select "New". Here you will enter options that define the CSS rule. When you click OK another box comes up where you will select “Border” and choose the color for the border. To make the border visible, go to Page Properties, select "Border" and type in “1”.
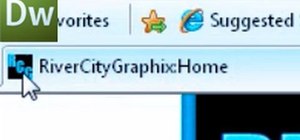
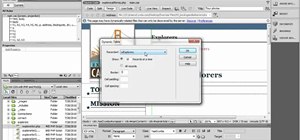
The "Link" option allows you to link your images to a website.
Just updated your iPhone? You'll find new emoji, enhanced security, podcast transcripts, Apple Cash virtual numbers, and other useful features. There are even new additions hidden within Safari. Find out what's new and changed on your iPhone with the iOS 17.4 update.


Be the First to Comment
Share Your Thoughts